UPDATE: Don't do this. "enough troubleshooting to be robust enough for reasonable personal use" is a lie. It was fun but editing posts is quite painful and it's nowhere near as ergonomic as other solutions (no surprise there). I will keep it as my system though because it provides *freedom* and the time tradeoff is low after an initial "how do I do this more efficiently" period. With that said, onto the article.
Recently I took it upon myself to finally bother to fully create a blog, after some failed attempts. I didn’t particularly like the idea of using a noob-targeting website builder such as Wix and while a more developer-focused builder (such as Hugo) was preferable [I hosted a few pages on one for a while], I disliked the lack of control and transparency I had. I wanted full control. So I made my own buildsystem with a few bash/zsh scripts and neovim. It is 40 lines of easily understandable and hackable shell script, and has been put through enough troubleshooting to be robust enough for reasonable personal use.
~/.zshrc without testing since editing them on and off from there is a waste of time├── index.html
├── index.md
├── posts
│ ├── cdn
│ │ ├── fifth_rice.png
│ │ ├── first_rice.jpg
│ │ ├── fourth_rice.jpg
│ │ ├── second_rice.jpg
│ │ └── third_rice.jpg
│ ├── drafts
│ │ ├── first_post.md
│ │ ├── How I Made This Website.md
│ │ ├── second.md
│ │ └── third.md
│ ├── finished
│ │ ├── Arch Ricing.html
│ │ └── Arch Ricing.md
│ ├── posts_main.html
│ └── posts_main.md
└── README.md At the top level, there is a home/index page and instructions on how to use the utility functions the most efficiently. There is also a posts folder with a cdn folder for assets (such as images) and separate drafts and finished folders for blog posts (in .md format while they are drafts and then also .html when they are published and moved to finished).
When the user has an idea for a blog post, they can call edt [post-name]. The edt function opens posts\drafts\post-name.md in neovim, and sets its argument as $WEB_FNAME (which is used when edt is called without an argument). $WEB_FNAME is saved in a file so it is persistant across shell sessions.
#in ~/.zshrc
#note: this is a stripped down version of the function without '--help' or error checking
export WEB_FNAME=$(cat $PROJ_DIR/posts/drafts/WEB_FNAME)
edt() {
    if [ $# -ne 0 ]; then
        export WEB_FNAME=$(echo $1 | cut -d. -f1)
        echo $WEB_FNAME > $PROJ_DIR/posts/drafts/WEB_FNAME
        echo "using $WEB_FNAME"
    fi
    nvim $PROJ_DIR/posts/drafts/$WEB_FNAME.md
}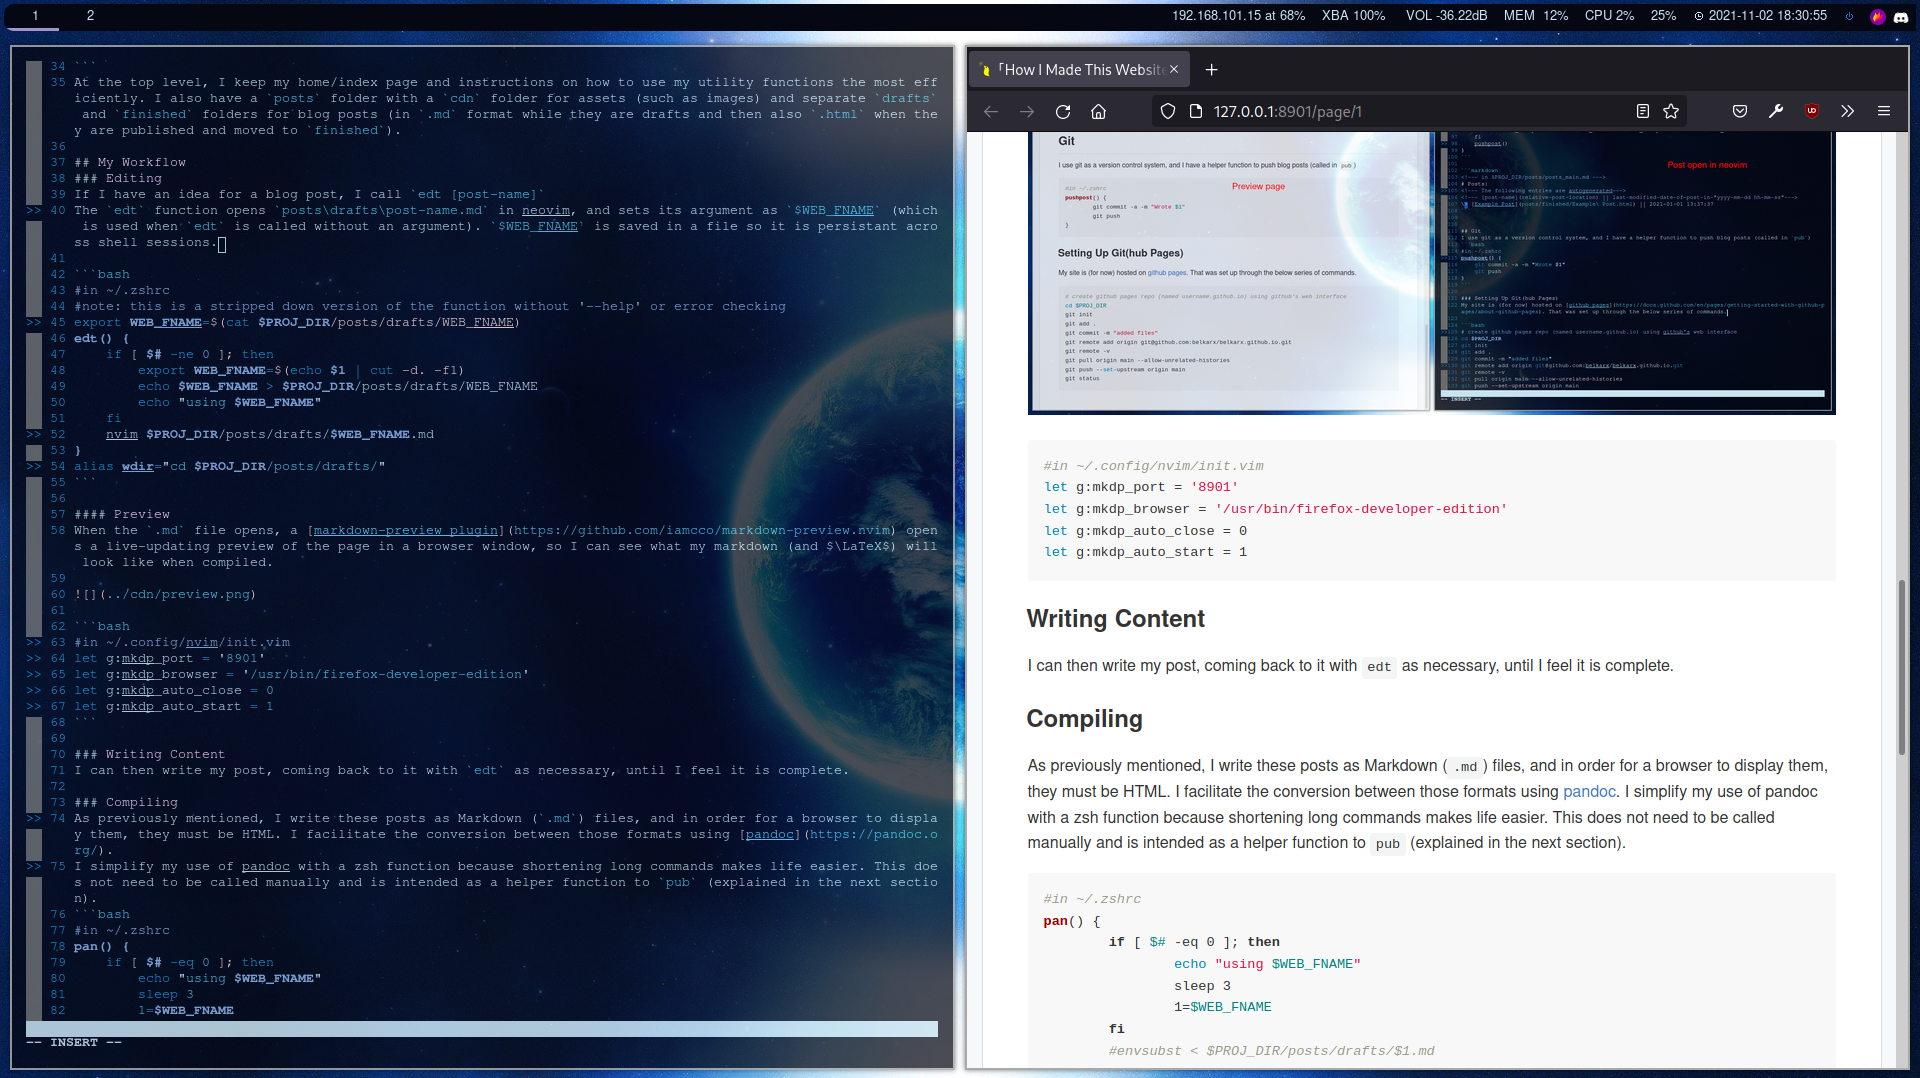
alias wdir="cd $PROJ_DIR/posts/drafts/"When the .md file opens, a markdown-preview plugin opens a live-updating preview of the page in a browser window, showing what the markdown (and \(\LaTeX\)) will look like when compiled.
#in ~/.config/nvim/init.vim
let g:mkdp_port = '8901'
let g:mkdp_browser = '/usr/bin/firefox-developer-edition'
let g:mkdp_auto_close = 0
let g:mkdp_auto_start = 1The user can then write their post, coming back to it with edt as necessary, until they feel it is complete.
As previously mentioned, these posts are written as Markdown (.md) files, and in order for a browser to display them, they must be HTML. The conversion between those formats is facilitated using pandoc. Pandoc can compile markdown files to standalone html files, complete with css and mathjax rendering, so technically no extra work is needed by the user (however this function could be altered to simply compile the markdown into an html snippet, which can be inserted into a skeleton file linking to custom css and rendering to add function and avoid repetition).
#in ~/.zshrc
pan() {
    if [ $# -eq 0 ]; then
        echo "using $WEB_FNAME"
        sleep 3
        1=$WEB_FNAME
    fi
    pandoc --standalone --from markdown --to html5 --mathjax $PROJ_DIR/posts/drafts/$1.md -o $PROJ_DIR/posts/finished/$1.html
    firefox-developer-edition $PROJ_DIR/posts/finished/$WEB_FNAME.html
}The final step in the blogging process involves relabelling the draft post as a finished product and making it accessible from a main_posts page in the index (“home page”) of the website. This is done through another zsh function: pub.
#in ~/.zshrc
pub() {
if [ $# -eq 0 ]; then
echo "no arg provided: using $WEB_FNAME"
else
WEB_FNAME=$1
fi
pan
my_date=$(stat -c %y $PROJ_DIR/posts/finished/$WEB_FNAME.html | awk -F. '{print $WEB_FNAME}') &&
#probably could be cleaned up but it works
echo "\\> [$WEB_FNAME](finished/$WEB_FNAME.html) || $my_date" >> $PROJ_DIR/posts_main.md &&
my_post="<p>\> <a href=\"finished/$WEB_FNAME.html\">$WEB_FNAME</a> \|\| $my_date</p>"
sed -zEi "s|(\n[^\n]*){3}$|\n$my_post&|" $PROJ_DIR/posts_main.html
mv $PROJ_DIR/posts/drafts/$WEB_FNAME.md $PROJ_DIR/posts/finished/$WEB_FNAME.md
fi
pushpost $WEB_FNAME
}<!--- in $PROJ_DIR/posts/posts_main.md --->
# Posts:
<!--- The following entries are autogenerated--->
<!--- [post-name](relative-post-location) || last-modified-date-of-post-in-"yyyy-mm-dd hh-mm-ss"--->
\> [Example Post](posts/finished/Example\ Post.html) || 2021-01-01 13:37:37Git is used here as a version control system, and a helper function is to push blog posts (called in pub)
#in ~/.zshrc
pushpost() {
    git commit -a -m "Wrote $1"
    git push
}This site is (for now) hosted on github pages. That was set up through the below series of commands.
# create github pages repo (named username.github.io) using github's web interface
cd $PROJ_DIR
git init
git add .
git commit -m "added files"
git remote add origin git@github.com:belkarx/belkarx.github.io.git
git remote -v
git pull origin main --allow-unrelated-histories
git push --set-upstream origin main
git status